
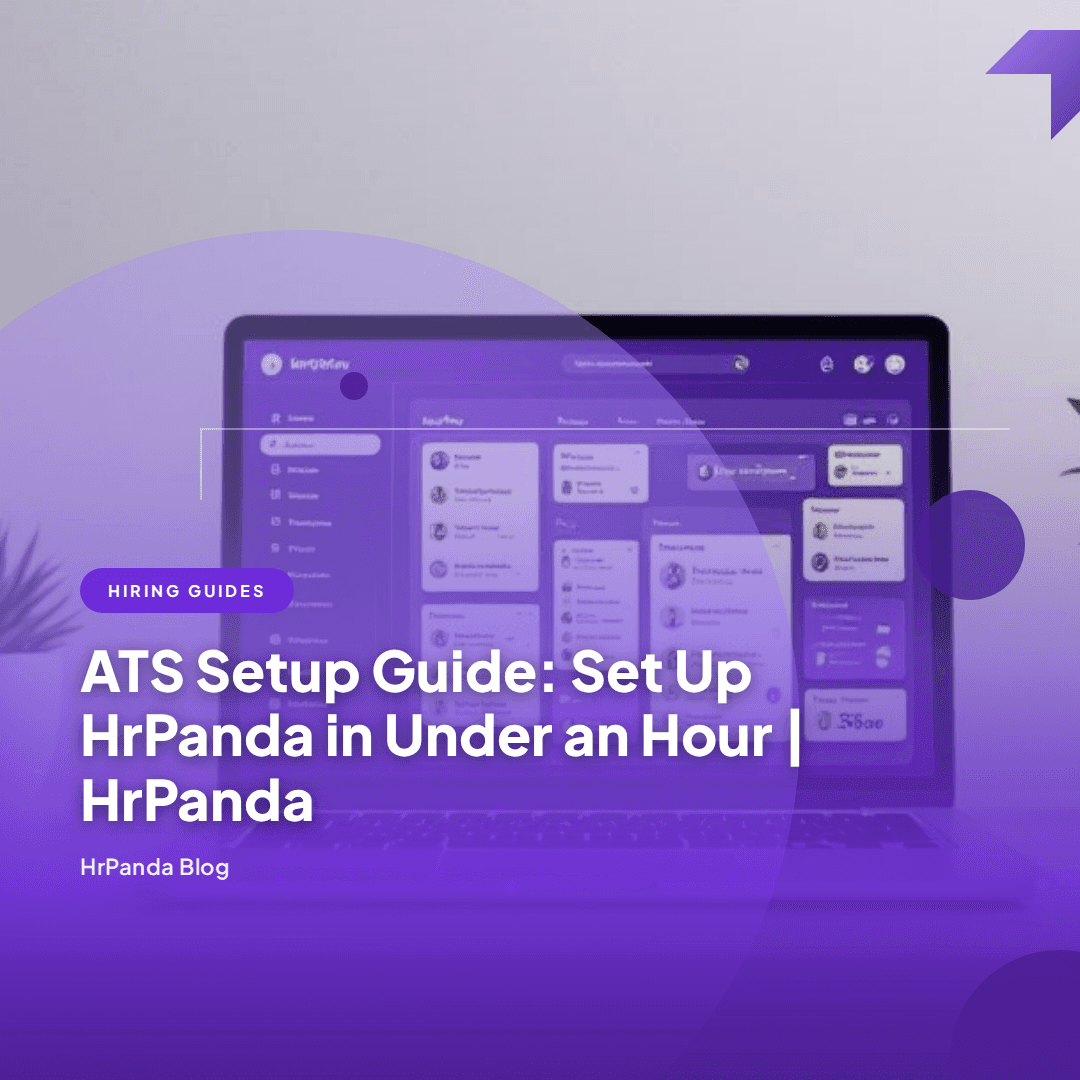
ATS Kurulum Kılavuzu: Bir Saatten Kısa Sürede HrPanda'yı Hazırlayın | HrPanda
ATS Kurulum Kılavuzu: Bir Saatten Kısa Sürede HrPanda'yı Hazırlayın | HrPanda
60 Dakika Sonra Karşınızda Olacak Sistem
Adımlara geçmeden önce, bir saatlik kurulumdan sonra ATS'nizin (Aday Takip Sistemi) nasıl görüneceğine kısaca göz atalım:
Özellik | Durum |
|---|---|
Kendi markanızı taşıyan şirket profili | Tamamlandı |
Kendi aşamalarınızla özelleştirilmiş işe alım süreci | Tamamlandı |
Uygun rollerle davet edilmiş ekip üyeleri | Tamamlandı |
Web'de yayında olan marka kariyer sayfanız | Tamamlandı |
Yayınlanan ilk iş ilanı | Tamamlandı |
Aktifleştirilen yapay zeka aday puanlaması | Tamamlandı |
Açılan yapay zeka CV özetleme özelliği | Tamamlandı |
IT ekibine gerek yok. Dışarıdan danışmana gerek yok. Hafta sonu projesine dönüştürmek yok. Sadece siz, dizüstü bilgisayarınız ve yaklaşık 50 dakikalık odaklanmış çalışma.
1. Adım: Hesabınızı ve Şirket Profilinizi Oluşturun (5 Dakika)
hrpanda.co adresine gidin ve kaydolun. Kayıt işlemi yaklaşık 90 saniye sürer.
Giriş yaptıktan sonra şirket profilinizi doldurun:
Şirket adı ve sektörü
Logo yükleme (PNG veya JPG, en az 200x200px)
Şirket büyüklüğü ve konumu
İşe alım ekibi e-posta alanı (otomatik ekip tanıma için)
İşte bu kadar. Sadece dört alan ve bir logo.
Uzman Tavsiyesi: Bu adımda şirket logonuzu yüklemeyi unutmayın. HrPanda bu logoyu kariyer sayfanıza, e-posta şablonlarınıza ve adaylara yönelik tüm iletişim kanallarına otomatik olarak çeker. Bir kez yapın, her yerde görünsün.
2. Adım: İşe Alım Sürecinizi Oluşturun (10 Dakika)
Burası, adayların sürecinizde nasıl ilerleyeceğini belirlediğiniz yerdir. HrPanda sizi varsayılan bir süreçle başlatır:
Başvuruldu > Değerlendirme > Mülakat > Teklif > İşe Alındı
Çoğu küçük ekip için bu varsayılan süreç ilk gün için mükemmel şekilde çalışır. Ancak süreciniz farklıysa her şeyi özelleştirebilirsiniz:
Aşamalar ekleyin: "Teknik Değerlendirme" veya "Kültür Uyumu Mülakatı" gibi aşamalar ekleyin
Aşamaları yeniden adlandırın: "Değerlendirme" aşamasını "Telefon Değerlendirmesi" veya kendi terimlerinize uygun bir isimle değiştirin
Aşamaları yeniden sıralayın: Gerçek iş akışınıza uyması için sürükleyip bırakın
Aşama eylemlerini ayarlayın: Adaylar aşamalar arasında geçiş yaptığında otomatik e-postalar gönderilmesini tetikleyin
HrPanda size aday sürecinizi görüntülemeniz için üç yol sunar:
Süreç görünümü (aşamalar arasında sürükleyebileceğiniz Kanban tarzı kartlar)
Tablo görünümü (toplu işlemler için e-tablo düzeni)
Liste görünümü (hızlı göz atmak için kompakt liste)
Çoğu ekip görsel netliği nedeniyle Süreç görünümüyle başlar, ardından aynı anda 50'den fazla adayı işlerken Tablo görünümüne geçer.
Uzman Tavsiyesi: Başlangıçta 5 ila 7 süreç aşaması belirleyin. Daha sonra her zaman yenilerini ekleyebilirsiniz ancak ilk günden çok fazla aşama oluşturmak kafa karışıklığı yaratır. Birlikte çalıştığımız bir şirket 12 aşamayla işe başladı ve adaylarla konuşmaktan çok onları aşamalar arasında taşımaya zaman harcadı. Sonunda bu sayıyı 6'ya düşürdüler.
3. Adım: İşe Alım Ekibinizi Davet Edin (5 Dakika)
Bir işe alım aracı ancak tüm ekip onu kullandığında işe yarar. HrPanda, ekip kurulumunu son derece kolaylaştırır.
Ayarlar > Ekip Üyeleri > Davet Et adımlarını takip edin ve iş arkadaşlarınızı e-posta ile ekleyin. Her kişi için şu üç rolden birini atayın:
Rol | Neler Yapabilirler |
|---|---|
Yönetici (Admin) | Tam erişim: ayarlar, faturalandırma, tüm işler, tüm adaylar |
İşe Alım Uzmanı | İşleri, adayları, süreci ve mesajları yönetebilir. Faturalandırma erişimi yoktur. |
İşe Alım Yöneticisi | Atanan işleri görüntüleyebilir, adayları puanlayabilir, geri bildirim bırakabilir. Sınırlı düzenleme yetkisi vardır. |
İşe alım yöneticilerinizin her açık pozisyonu görmesine veya ATS yapılandırmasını yönetmesine gerek yoktur. Kendi pozisyonlarındaki adayları değerlendirmeye odaklanabilmeleri için onlara İşe Alım Yöneticisi erişimi verin.
Davet edilen üyeler, katılmak için doğrudan bir bağlantı içeren bir e-posta alırlar. İndirme yok, kurulum yok. HrPanda tamamen tarayıcı üzerinden çalışır.
4. Adım: Kariyer Sayfanızı Oluşturun (10 Dakika)
Kariyer sayfanız, şirketinizi değerlendiren iş arayanların en çok ziyaret ettiği sayfadır. LinkedIn'e göre, adayların %75'i başvurmadan önce şirketi araştırıyor. Profesyonel ve markanızı yansıtan bir kariyer sayfası, adayın hemen çıkması yerine başvur butonuna tıklamasını sağlar.
HrPanda'nın kariyer sayfası oluşturucusu sıfır kod gerektirir. Yapılandırmanız gerekenler şunlardır:
Şirket açıklaması: Kim olduğunuzu ve birinin neden sizinle çalışması gerektiğini anlatan 2-3 paragraflık bir genel bakış
Marka renkleri: Web sitenizin birincil ve vurgu renkleriyle eşleştirin
Kapak resmi: Bir ekip fotoğrafı veya ofis görseli (1200x400px en iyi sonucu verir)
Sosyal medya bağlantıları: LinkedIn, Twitter, Instagram
Kaydettiğiniz anda kariyer sayfanız size özel bir HrPanda URL'sinde yayına girer. Ayrıca basit bir kod parçacığı ile doğrudan kendi şirket web sitenize de gömebilirsiniz.
En güzel yanı ne mi? Yayınladığınız her iş ilanı otomatik olarak kariyer sayfanızda görünür. Manuel eşitlemeye gerek yoktur. HrPanda'da bir iş ilanı yayınlayın, saniyeler içinde kariyer sayfanızda canlıya geçsin.
Uzman Tavsiyesi: İlk gün kariyer sayfası metni üzerinde saatlerce düşünerek vakit kaybetmeyin. Net bir şirket açıklaması ve marka renkleriniz yayına başlamak için yeterlidir. Mesajları daha sonra geliştirebilir, ekip fotoğrafları ekleyebilir ve detaylı kültür bölümleri yazabilirsiniz. Bugün profesyonel bir şeyi yayına almak, iki ay sonra mükemmel bir sayfa sunmaktan çok daha iyidir.
5. Adım: İlk İş İlanınızı Yayınlayın (10 Dakika)
Temeli attınız. Şimdi ilk iş ilanınızla yayına çıkma zamanı.
İş İlanları > Yeni İş İlanı Oluştur adımlarına tıklayın ve şunları doldurun:
İş unvanı: Net ve spesifik ("Yazılımcı" yerine "Kıdemli Backend Geliştiricisi" çok daha iyidir)
Konum: Ofis, uzaktan (remote) veya şehir bilgisiyle birlikte hibrit
Departman: Mühendislik, Satış, Pazarlama vb.
İş tanımı: Sorumluluklar, gereksinimler ve bu rolü heyecan verici kılan detaylar
Başvuru formu: Adayların hangi alanları dolduracağını seçin (özgeçmiş, ön yazı, özel sorular)
HrPanda, başvuru formuna doğrudan değerlendirme soruları eklemenize olanak tanır. Bunlar, adayın özgeçmişini bile açmadan önce onları filtrelemenize yardımcı olan kısa sorulardır. Örneğin: "Kaç yıllık Python deneyiminiz var?" veya "[Ülke]'de çalışma izniniz var mı?"
Yayınla düğmesine bastığınızda iş ilanı kariyer sayfanızda aktif hale gelir. Doğrudan bağlantıyı LinkedIn, Twitter, iş ilanları siteleri veya aday bulduğunuz herhangi bir yerde de paylaşabilirsiniz.
Sayılarla Sektör Gerçekleri: Sektör analizlerine göre, Aday Takip Sistemi kullanan şirketler, manuel süreçlere kıyasla işe alım süresinde %30'luk bir azalma bildiriyor. Bu da işe alım başına kabaca 12 gün daha az zaman harcamak anlamına geliyor.
6. Adım: Yapay Zeka Özelliklerini Aktifleştirin (10 Dakika)
Burası HrPanda'nın temel ATS araçlarının önüne geçtiği yerdir. Yapay zeka özellikleri halihazırda hesabınızda tanımlıdır. Tek yapmanız gereken onları açmaktır.
Yapay Zeka Uyumluluk Algoritması
Ayarlar > Yapay Zeka Özellikleri > Yapay Zeka Uyumluluk Algoritması bölümüne gidin ve özelliği etkinleştirin. Bu özellik, gelen her adayı iş gereksinimlerinize göre otomatik olarak puanlar.
150 özgeçmişi manuel olarak okumak yerine, HrPanda'nın Yapay Zeka Uyumluluk Algoritması her başvuruyu analiz eder ve bir uyumluluk puanı atar. Sadece anahtar kelimeleri eşleştirmekle kalmaz, bağlamı anlar, beceri ilgisini değerlendirir ve deneyim derinliğini hesaba katar.
Sonuç mu? En iyi adaylarınız, başvuru yaptıktan saniyeler sonra listenin en üstünde belirir.
Yapay Zeka Hazır CV Özetleme
Bu özelliği aynı ayarlar panelinden etkinleştirin. Aktif hale getirildiğinde, HrPanda yüklenen her CV için kısa ve öz bir özet oluşturur. 5 sayfalık bir özgeçmişi kaydırmak yerine; temel beceriler, ilgili deneyimler, eğitim durumu ve potansiyel risk unsurlarını tek bir görünümde yapılandırılmış bir özet olarak alırsınız.
Yapay zeka destekli CV özetleme özelliğini kullanan ekipler, adayları manuel olarak tam özgeçmiş okuyanlara göre 10 kata kadar daha hızlı değerlendirir.
Akıllı Öneriler
HrPanda ayrıca mevcut yetenek havuzunuzdan yeni roller için uygun olabilecek adayları da önerir. Güçlü bir adayı bir pozisyon için reddetmiş olsanız bile, sistem profilini hatırlar ve daha uygun bir rol açıldığında onu size önerir.
Uzman Tavsiyesi: Sadece birkaç adayınız olsa bile yapay zeka özelliklerini ilk günden açın. Sistem, daha fazla veri akışı sağlandıkça öğrenir ve gelişir. Erken başlamak, daha hızlı ve daha iyi öneriler almak demektir.
Kaçınmanız Gereken Yaygın Kurulum Hataları
Çok fazla süreç aşaması oluşturmak. Basit başlayın. Beş ila yedi aşama işe alım süreçlerinin %90'ını kapsar. Ekibiniz sisteme alıştıktan sonra yenilerini ekleyebilirsiniz.
Kariyer sayfasını geçiştirmek. "Daha sonra yaparız" düşüncesi genellikle hiçbir zaman yapılmamasına yol açar. Temel bir kariyer sayfası oluşturmak sadece 10 dakika sürer ve şirketinizin adayların gözünde hemen daha profesyonel görünmesini sağlar.
İşe alım yöneticilerini davet etmemek. İşe alım yöneticileri ATS'yi kullanmazlarsa, Slack ve e-posta üzerinden geri bildirim göndermeye devam edeceklerdir. Onları en başından itibaren sisteme dahil edin.
Yapay zeka özelliklerini göz ardı etmek. Yapay zeka puanlaması ve özetleme planınıza dahildir. Bunları kapalı tutmak, sistemin otomatik olarak halledebileceği işleri manuel olarak yapmak anlamına gelir.
Her şeyi tek seferde taşımaya çalışmak. E-tablolarda aday verileriniz varsa, yeni rollerle temiz bir başlangıç yapın ve geçmiş verileri daha sonra aktarın. Veri taşıma sürecinin ilk iş ilanınızı geciktirmesine izin vermeyin.
Sıkça Sorulan Sorular
HrPanda'yı kurmak gerçekten ne kadar sürüyor?
Çoğu ekip kurulumu 30 ila 50 dakika arasında tamamlar. Bu kılavuzdaki altı adım, acele etmeden yaparsanız yaklaşık 50 dakika sürer. Daha önce bir ATS kurmuş olan profesyonel kullanıcılar ise genellikle 30 dakikadan kısa sürede bitirir.
HrPanda'yı yapılandırmak için teknik bilgiye ihtiyacım var mı?
Hayır. HrPanda yazılımcılar için değil, İK profesyonelleri için tasarlanmıştır. Her şey sürükle-bırak ve tıkla mantığıyla çalışır. Kod yazmanıza, bir API çağırmanıza veya bir veritabanı yapılandırmanıza gerek yoktur. İnternet tarayıcısı kullanabiliyorsanız, HrPanda'yı da kolayca kurabilirsiniz.
E-tablolardan veya başka bir ATS'den aday aktarabilir miyim?
Evet. HrPanda, aday verileri için toplu CSV içe aktarımını destekler. Önceki sisteminizden isimleri, e-postaları, özgeçmişleri ve notları aktarabilirsiniz. Ancak veri taşıma işine girişmeden önce süreci kurup ilk iş ilanınızı yayınlamanızı öneririz.
HrPanda'yı ücretsiz deneyebilir miyim?
HrPanda, platformu satın almadan önce keşfetmeniz için ücretsiz bir demo sunar. Tüm özellikleri kendi verilerinizle görmek için bir demo talep edin.
Kurulumdan sonra ilk olarak ne yapmalıyım?
İlk iş ilanınızı LinkedIn'de ve şirketinizin sosyal kanallarında paylaşın. Ardından doğrudan LinkedIn, GitHub ve diğer mecralardan aday aramaya başlamak için PandaS Chrome eklentisini yükleyin.
Temel Çıkarımlar
HrPanda'nın tam ATS kurulumu, BT desteğine ihtiyaç duymadan 60 dakikadan kısa sürer.
5 ila 7 süreç aşamasıyla başlayın ve süreciniz geliştikçe özelleştirin.
Markalı kariyer sayfanız 10 dakikada yayına girer ve yayınladığınız her iş ilanıyla otomatik olarak senkronize olur.
Yapay Zeka Uyumluluk Algoritması ve CV Özetleme özelliklerini ilk günden aktif edin. Ne kadar erken başlarsanız o kadar iyi çalışırlar.
Veri taşıma işinin yayına çıkmanızı engellemesine izin vermeyin. Önce ilk iş ilanı yayınlayın, geçmiş verileri daha sonra aktarırsınız.
Tüm işe alım ekibinizi hemen sisteme dahil edin. Bir ATS ancak herkes kullandığında gerçek performansını gösterir.
İşe Alım Süreciniz Burada Başlıyor
Yol haritanız hazır. Altı adımda, bir saatten kısa sürede yapay zeka destekli aday puanlaması, markalı bir kariyer sayfası ve başvuruları toplayan ilk aktif iş ilanınızla tam donanımlı bir ATS'ye sahip olacaksınız.
Başlamak için en iyi zaman dündü. İkinci en iyi zaman ise tam şu an.
HrPanda'yı iş başında görmeye hazır mısınız? Hemen ücretsiz demo talep edin ve yapay zeka destekli bir Aday Takip Sisteminin işe alım sürecinizi ilk günden itibaren nasıl dönüştürebileceğini keşfedin.
Önerilen Kaynaklar
Bir Şirket Ne Zaman ATS Kullanmaya Başlamalı? - E-tablolardan ve manuel takipten kurtulma zamanının geldiğini gösteren işaretler
İşe Alım Süreci Nasıl Optimize Edilir? - Daha hızlı ve daha isabetli işe alımlar için ileri düzey stratejiler
HrPanda ile İşe Alım Süreç Şeması - İşe alım akışınızı yapılandırmak için görsel rehber
Daha Fazlasını Keşfedin


İşe alım stratejilerinizi bir adım öteye taşıyın:

İşbirliği
Entegrasyonlar
Şablonlar
Kariyer Sayfası
Panda, yeni nesil şirketlerin işe alım süreçlerini nasıl yeniden tasarladığını hayal ediyor. İnsan kaynaklarını yeni nesil bir güç merkezine dönüştürmek için bizimle bu yolculuğa katılın.
© 2026 HrPanda
İşe alım stratejilerinizi bir adım öteye taşıyın:
İşbirliği
Entegrasyonlar
Şablonlar
Kariyer Sayfası
Panda, yeni nesil şirketlerin işe alım süreçlerini nasıl yeniden tasarladığını hayal ediyor. İnsan kaynaklarını yeni nesil bir güç merkezine dönüştürmek için bizimle bu yolculuğa katılın.
© 2026 HrPanda